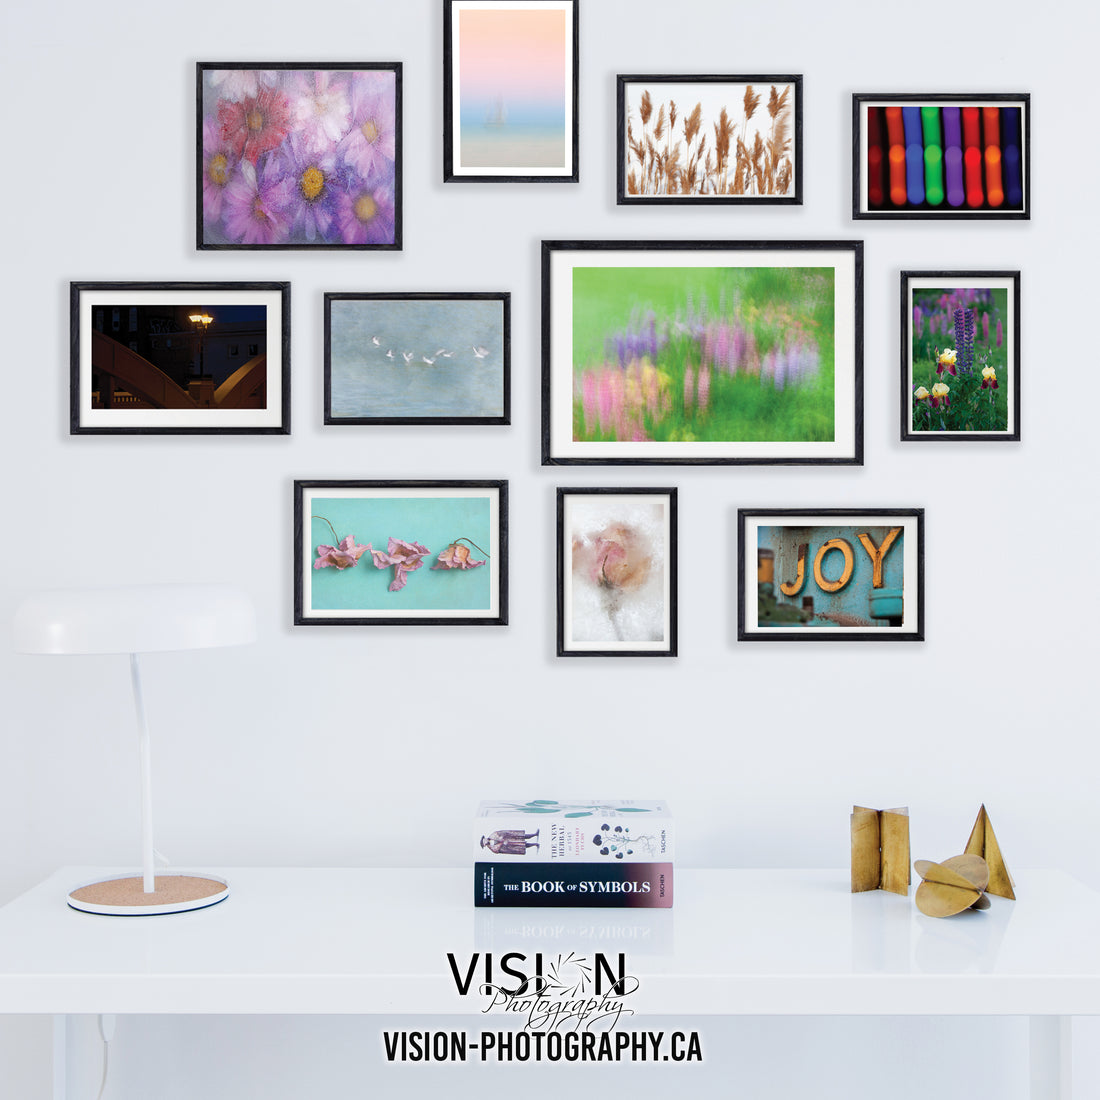
Consider the joys of creating a gallery wall to enjoy everyday. Vision Photography helps you get started.
For those who know me well, know that I THRIVE on versatility ~ which is why I LOVE, LOVE, LOVE me a gallery wall!
I don't have to choose one statement piece, I get to choose many little lovelies to make the statement! Now don't get me wrong, there's most definitely application for choosing one large statement piece and accenting with a few smaller art pieces, but that's a blog for another time.
So let's dig in on the 'how to's' of gallery wall artAn Ongoing Project
Rome wasn't built in a day, so the expression goes and neither is your gallery wall. I think it's difficult if you are starting from scratch to complete a full wall in one go. It takes time to find the right art, allow yourself time to complete the process. This will be a long lasting showpiece in your space, so you want to LOVE it! You can get started with as little as 3 to 4 pieces and build your art collection by adding a few pieces over time.
Where to Start
Consider the space you will be using for this gallery wall. Will it be one large wall in your living room, office or maybe a smaller wall in an office, bedroom or kitchen? How about the staircase wall?
Now that you have the location in mind, you'll want to measure it out so you'll know how much space you're working with. That'll help when it comes to choosing your art, because it is super easy to select art we love BUT we have to also consider how much space it will take to display.
If you have existing art plan out how much space that will take and then you know how many more pieces you can safely add in. 
Choosing Art
Always, always, always, purchase art that you love, that you won't grow bored with. Art that makes you feel or reminds you of a special place or time. Art that speaks to you, that tells a story or tells your story.
Consider choosing a theme and a colour palette for cohesion to tie it together, unless you prefer to have an eclectic look.
The beauty of a gallery wall is the size and shape variation - you get to mix it up!
Or if you're more traditional you can go with a uniform gallery, same size and orientation creating more of a uniform block type display.
Depending upon the size of your wall you want to stay under the 16" x 20" range because they fill up a wall fast. Stick to about 4 or less of these large pieces to leave room for more art.
With existing art, be sure to mix in some new photography prints, and if you're just starting out mix it up with photography prints, textile art, painting, vintage prints anything that you love, and fits the theme and mood you are going for.
Frame Your Art
If you are purchasing prints and don't have already framed pieces you can take 2 approaches, keep it consistent using the same frame style OR mix-it-up using a mixture of styles and colours of frames standard black frames, metal frames, white frames the sky's the limit.
If you have existing framed art and are purchasing for newly purchased photography prints consider frames that compliment your existing art. Or if it's possible you could refresh the frames of your existing art by replacing them with new or doing a little D-I-Y paint project... fun all around!
A quick note about framing photographs. Ensure to place a mat between the frame and print to protect the photograph. For reference this is a rough idea of the finished standard frame sizes for photographs*.
5"x7" photograph frames up to 8"x10"
8"x10" photograph frames up to 11"x14"
11"x14" photograph frames up to 16"x20"
16"x20" photograph frames up to 20"x24"
*Give or take depending upon the mat window and the thickness of the frame. You can get creative with custom framing, choosing large mats with small windows and really thick 4" frame that gives the art a grand appearance.
How to Hang your Gallery Wall
Plan it out
Lay it out on the floor to visualize the space it will take and how it will look on the wall, make adjustments as you like. Once you have the placement finalized, snap a pic so you have reference when you are hanging the art on the wall.
Start from the middle
Hang your first piece, and continue on with that row. Make sure they are level, otherwise the whole gallery wall will be off and that will come off looking disorganized.
Space the art evenly
Be sure to hang the art with uniform spacing, you want to allow enough breathing room between the art. 2"-4" is always a great starting point. Uneven spacing and large gaps between the work will make the gallery wall appear random.
Maintain Balance
Your gallery wall doesn't need to be symmetrical, unless you love that style. However, maintain some level of order to the placement of the art by arranging the combination of sizes, styles and finishes in your gallery to create balance.Add to It
If you've started with a small collection add to it with a new piece every once in awhile.
Get to it!
Well there you have it friends, the D-I-Y and how to's of creating your very own gallery wall, so now comes the FUN part ~ go on out and get collecting! Happy shopping, there are quite a lot of amazing art pieces ready for collecting.
I'd love to see your beautiful gallery wall, so post a photo on Instagram or Facebook and be sure to tag me!
Need some new pieces for your gallery wall? I can help! View this great selection of prints and ready to hang wall art and be sure to sign up to the newsletter to get an exclusive first look at all new releases

I’m Laura Cook Photographic Artist of Vision Photography. As a seer & lover of beauty, I draw my inspiration from the overlooked beauty that surrounds. Creating visual retreats to bring peace, joy and wonder to hearts and homes. Line texture and colour excite. I use the camera as my paintbrush to evoke an emotional response. Thriving on versatility, I offer abundant selection.